How to Use Photoshop Layer Styles on Your Digital Scrapbook Title
I am quite lazy about a lot of things and one thing I will hardly ever do is take the time to add a digital scrapbook alpha to my layout. This seems excessively time consuming to me and also then I have to come up with a title. However, if you want your title to look cool but don't want to take the time to include an alpha, there's actually a great option for adding a little customization without too much effort: Photoshop Layer Styles. I have created a video (see the end of this post) where I go through adding a few of my favorite layer styles to a title so you can see how quickly and easily I can change the look of my font. Before I get to the video though, I'll share my favorite layer styles (which I use in the video) and my favorite fonts for using with styles. All these layer styles are available to download right now if you're a subscriber, and there are so many more to check out as well. (See our full collection of Photoshop layer styles here.)
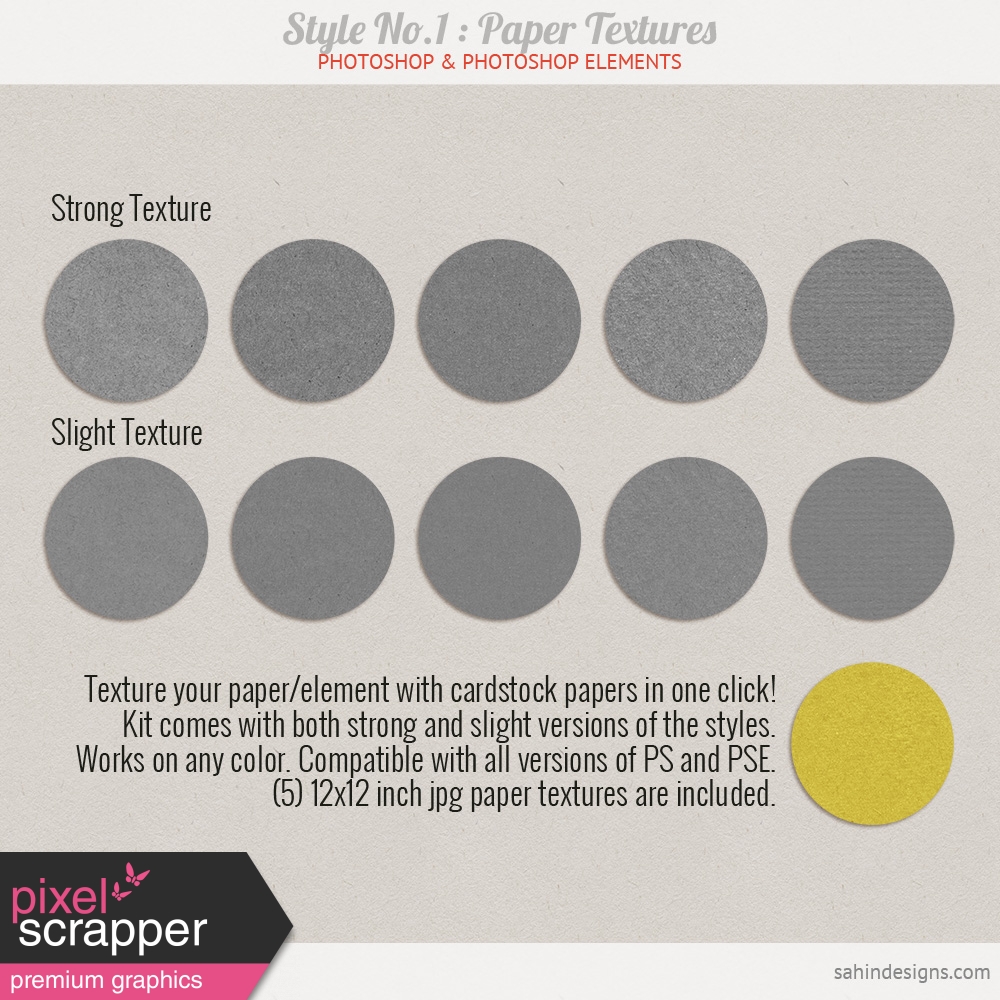
This paper textures style is one of my all time favorites. I use it all the time when I want to add a slight realistic paper look to anything. It's great to use on your title, or if you can't find the solid paper you need, just add this style to your color layer and you're good to go.
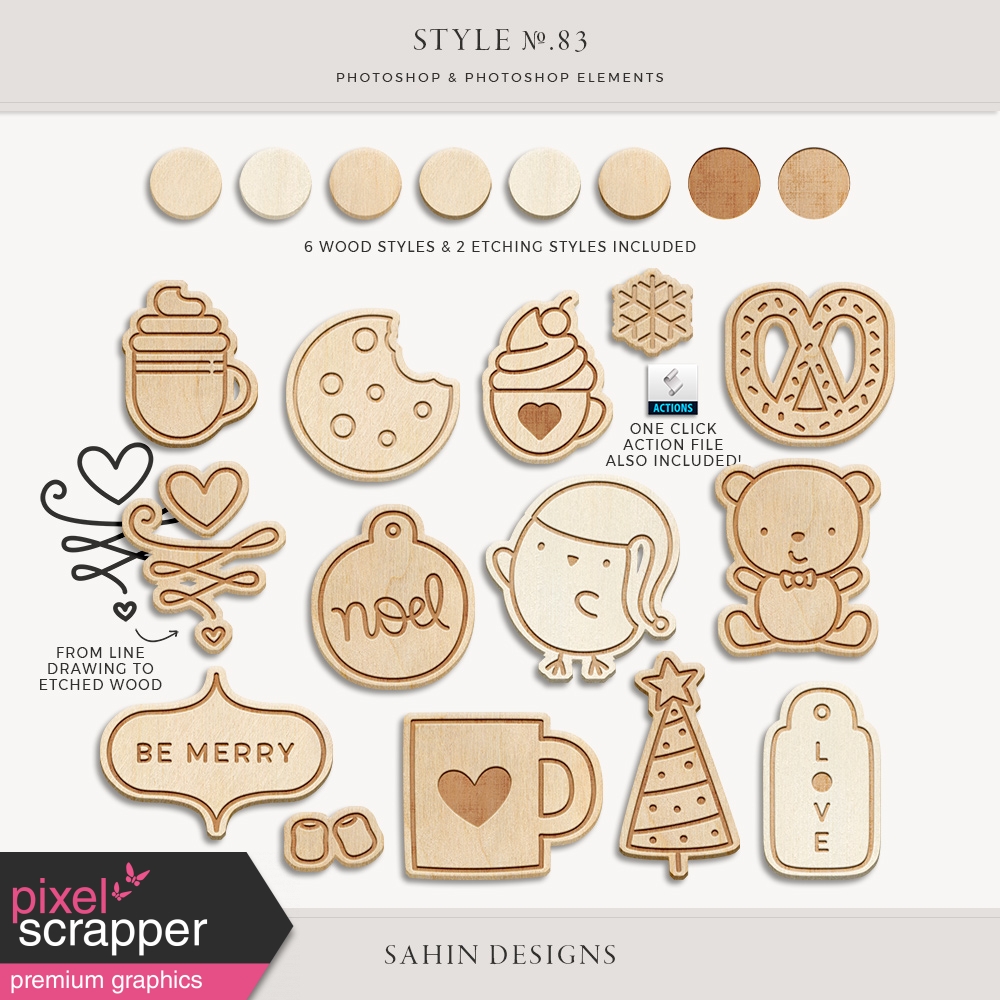
This etched wood layer style is super easy and I love the minimal look of the wood textures included. If you take a bit more time you can add in an etched layer, although if you're feeling lazy, the wood looks great on its own.
I love a good plastic effect and this bevel layer style is full of great options for adding that look. Don't forget to use multiple styles together to get a bigger plastic look. Just hit ctrl+j in Photoshop with the layers you want to duplicate selected and you can add as many styles together as you need.

Rubber is another of my favorite styles. The effect is a little flatter and less obvious than the previous plastic, but like the paper textures at the beginning, gives you just a hint of texture to keep things from feeling too flat. I love to combine stripes on a separate layer in a different color or in a different style to add extra interest to the rubber style.

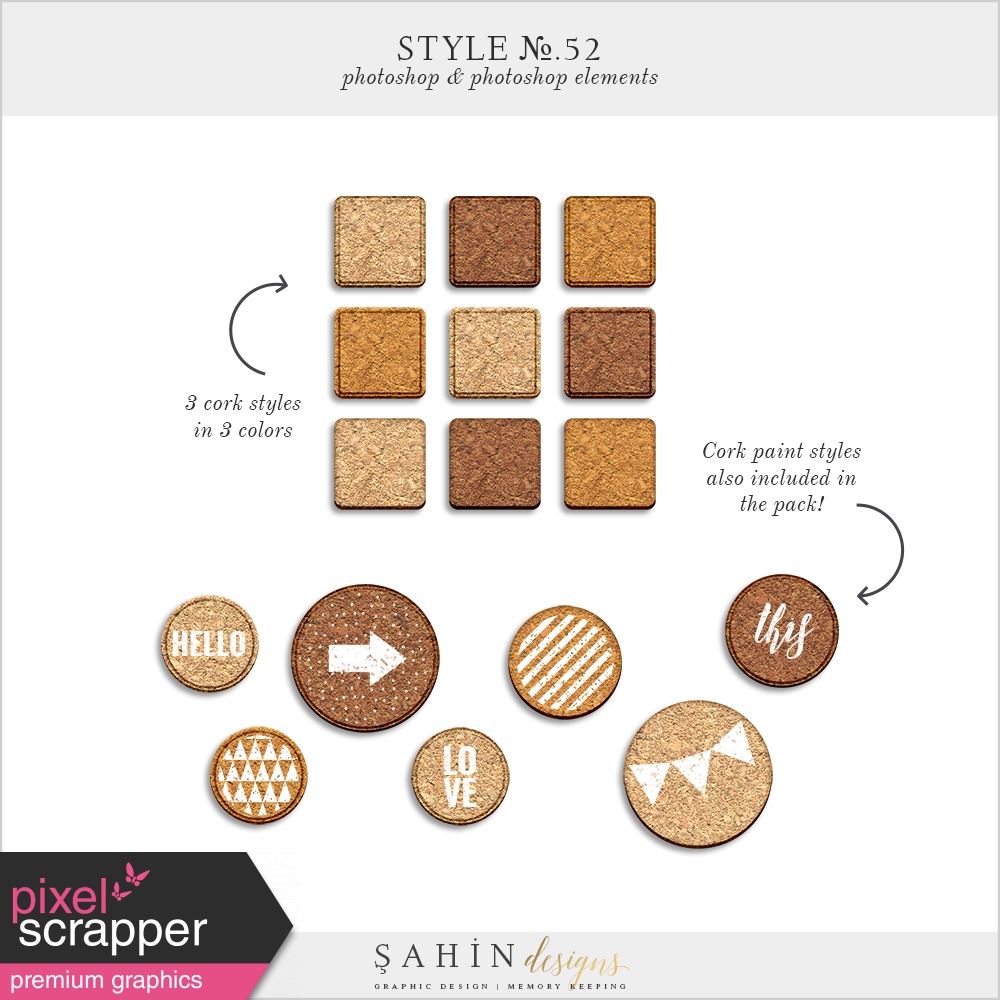
Finally cork is another simple layer style you can add which will completely change the look of your title but with very little effort from you. In the video I also go over adding the painted layer if you want to go a step further.
Now that you've got all those great Photoshop layer styles to use with your title, you also need some great fonts. Usually what I'm looking for in a font to use with a layer style is something heavier or bold so you can give the layer style space to show off. Here are my favorite heavy fonts (and all are free!):

Now enjoy this video and please let me know if you have any questions!
Video Transcript:
Hi there! This is Marisa. And today I am going to show you how to use Photoshop styles on the titles on a scrapbook page.
So you can see here I'm in Photoshop, and I have my title already here. It says "good times." And this is the font Oswald and it's at about 140 size, and so an easy way to just add some interest to your layout pretty easily without, you know, using an alpha is to add a style to your font, here.
So I've already set the color here, which I have picked out from my background. I think it's this blue in this flower, and then I have my styles over here on the far side, and if you don't see that you'll just want to come up here, to window and styles, and that will bring this panel up. And if you're interested in installing a style, I can show you that real quick.
I've got mine here, and all you want to do is— you'll open up the folder with the style, which is dot asl, and you'll just double click on this file here. And it should just open in Photoshop so that is quite easy.
I've already loaded some of my favorites here, and these will all be linked down below if you're interested. So I have these two layers, here, selected and then all I have to do is come over here and this is just a simple paper style. So you can see it's adding a very slight kind of paper texture there, which just gives it a little more interest than if it was just, you know, straight colors.
I'm going to go ahead and duplicate these and then on the bottom two I'm going to go ahead and add a shadow, so this way I can keep these layers up here that I can kind of play around with. And then these down here will just keep my shadow for me, so that's just a simple paper style.
And let's see, what else? I have this fun, etched wood here, and I have these layers selected again, so I'm just going to go ahead. And now I've got that nice kind of wood look, and again I'm going to duplicate these. And this font is nice because it comes with different weights, so I'm going to try extra light here.
Nope! We need— I don't know if this will work exactly: these are not lining up. So that will take a little more work to get this font to line up, but this does have this nice extra, so you can see here if I play around a little bit I could get these extra letters here to make that even fancier.
But with just— you know— this looks quite nice here all by itself. I also have this bevel style which has a few options here, so I'm going to go ahead and just, oops, I don't have both of these selected, so with this one I think what you kind of want to do is add some of these together, so I'm just clicking through to see what looks good.
Okay, I like that one, and then I'm going to duplicate them and I'm just duplicating by doing ctrl-j here on my keyboard. And then I'm going to add in a little something else from the same layer pack here, just to make it look a little more plasticky. So that is how you can get a fun plastic look.
I'm going to delete those two layers again, and look at another one— this rubber style is one of my favorites that I do always like. It's simple, but nice, and then you know what is a fun thing I like to do with the— um— let's download some stripes here.
Okay let's just go for this one: download that. And here it is. All right, I'm going to drag this in. Okay, and this— I can go ahead and I'm going to clip it here. And i'm just going to shrink it down so this is kind of, I like to use a stripe with the rubber style often, and so I can go ahead and pick a color here. So I could just color that like that, or sometimes it is nice to kind of give it a little added burned-in look so you can kind of mix and match here on your stripes. So that's another way to make it even more exciting.
And let's see what else we've got here...oh, cork is always a good choice. This is pretty simple, this is just a click and you're ready to go. I like how that looks. If you want— okay, I'm going to duplicate these again. There's this nice white here, but you see it kind of goes, it goes too far, and you can't see— you kind of want an edge of the cork. So I'm going to go ahead and rasterize this type here, and I'm going to merge these layers together.
And you know what? We need to get these two here, so I'm going to also merge these two layers, just so I can get an outline. Okay, so then with my wands I want to select all of this. Okay, so now I have the whole outline selected. I'm going to come back here, this is my white layer, and I'm going to expand maybe 10 let's see how that looks maybe a little bit more.
All right, and then I'm just going to click this, and I'd like to give it a little smooth of 2. And then I have my white layer here. I'm just going to hit delete, and now you have your little white paint inside and we can even, if we lock this layer, we can make a pink if we want, or whatever color you want.
So that's another fun way to personalize your font there. Here we have some vellum, so this is another double, so i'm gonna go ahead— oh, you know what is causing a problem? Here is my shadow layer, so I'm gonna just turn that off here for now. So we can see these different vellum styles, so I'm gonna pick a more opaque one, and then I'm going to duplicate and add in the wrinkles here.
And then I think if we turn this on, what we want to do we'll double click here. And just turn the fill opacity down, so that we can still have the shadow, but the fill will not be ruining our vellum look.
All right, and that is just a quick and easy way to add a lot of variety to your title on your scrapbooking page. If you have any questions, please let me know down below.
If you like this video, please give me a thumbs up. And if you'd like to see more please subscribe to my channel. Have a great day!

Blog By

Subscribe to this blog
![]()
![]()
My Projects

Follow Marisa Lerin
Monthly archive
- November 2012 (9)
- December 2012 (37)
- January 2013 (17)
- February 2013 (13)
- March 2013 (20)
- April 2013 (26)
- May 2013 (29)
- June 2013 (9)
- July 2013 (8)
- August 2013 (13)
- September 2013 (16)
- October 2013 (14)
- November 2013 (16)
- December 2013 (12)
- January 2014 (15)
- February 2014 (9)
- March 2014 (15)
- April 2014 (11)
- May 2014 (4)
- June 2014 (9)
- July 2014 (8)
- August 2014 (7)
- September 2014 (8)
- October 2014 (13)
- November 2014 (6)
- December 2014 (3)
- January 2015 (13)
- February 2015 (14)
- March 2015 (14)
- April 2015 (13)
- May 2015 (12)
- June 2015 (11)
- July 2015 (10)
- August 2015 (8)
- September 2015 (7)
- October 2015 (10)
- November 2015 (8)
- December 2015 (10)
- January 2016 (7)
- February 2016 (6)
- March 2016 (8)
- April 2016 (7)
- May 2016 (8)
- June 2016 (8)
- July 2016 (6)
- August 2016 (5)
- September 2016 (8)
- October 2016 (8)
- November 2016 (11)
- December 2016 (7)
- January 2017 (6)
- February 2017 (12)
- March 2017 (10)
- April 2017 (7)
- May 2017 (9)
- June 2017 (9)
- July 2017 (10)
- August 2017 (7)
- September 2017 (11)
- October 2017 (8)
- November 2017 (9)
- December 2017 (8)
- January 2018 (8)
- February 2018 (8)
- March 2018 (8)
- April 2018 (4)
- May 2018 (9)
- June 2018 (9)
- July 2018 (4)
- August 2018 (5)
- September 2018 (13)
- October 2018 (19)
- November 2018 (18)
- December 2018 (14)
- January 2019 (23)
- February 2019 (20)
- March 2019 (17)
- April 2019 (14)
- May 2019 (17)
- June 2019 (14)
- July 2019 (8)
- August 2019 (3)
- September 2019 (14)
- October 2019 (17)
- November 2019 (16)
- December 2019 (6)
- January 2020 (14)
- February 2020 (20)
- March 2020 (16)
- April 2020 (18)
- May 2020 (19)
- June 2020 (16)
- July 2020 (8)
- August 2020 (5)
- September 2020 (8)
- October 2020 (10)
- November 2020 (10)
- December 2020 (7)
- January 2021 (4)
- February 2021 (9)
- March 2021 (8)
- April 2021 (7)
- May 2021 (7)
- June 2021 (7)
- July 2021 (10)
- August 2021 (7)
- September 2021 (8)
- October 2021 (5)
- November 2021 (7)
- December 2021 (6)
- January 2022 (5)
- February 2022 (7)
- March 2022 (9)
- April 2022 (6)
- May 2022 (7)
- June 2022 (4)
- July 2022 (2)
- August 2022 (1)
- September 2022 (3)
- October 2022 (6)
- November 2022 (4)
- December 2022 (6)
- January 2023 (4)
- February 2023 (5)
- March 2023 (6)
- April 2023 (5)
- May 2023 (5)
- June 2023 (5)
- July 2023 (5)
- August 2023 (5)
- September 2023 (5)
- October 2023 (4)
- November 2023 (4)
- December 2023 (5)
- January 2024 (4)
- February 2024 (5)
- March 2024 (5)
- April 2024 (2)
Recent Comments
Thank you for sharing your knowledge. Great tip. Great video too.
Great post, I love using styles and there are so many here at PS that I haven't even seen. Thank you.
I agree I hate making alphas but like making titles. Great ideas. Thank you. LOVE all these styles.
I love using fun alphas and I use layer styles almost daily. Thanks for this great post Marisa!